
What Happens During an Emergency Dental Treatment for Chipped or Painful Teeth?
The sudden onset of a toothache or the startling crack of a chipped tooth can be a terrifying and painful experience. Dental emergencies are often unexpected and can bring with them a great deal of anxiety. When faced with a dental crisis, the primary concern is always the same: what should I do, and what will a dentist like Green Dental & Implant Clinicactually do to fix it?
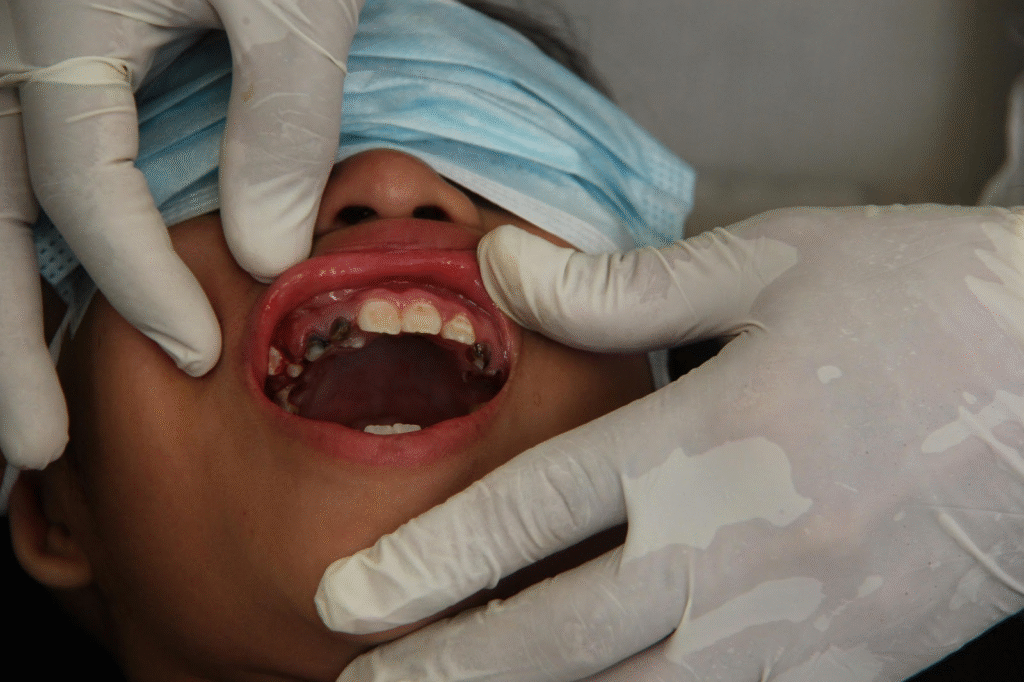
Understanding the process of an emergency dental treatment can help to alleviate some of that stress. This guide will take you through a step-by-step breakdown of what happens during a visit for a chipped or painful tooth, from the moment you make the call to the final stages of recovery, giving you a clear picture of what to expect and why every step is crucial for your oral health.
Step 1: The Initial Contact and What to Do Before You Arrive
The first and most important step in any dental emergency is to contact a dental practice immediately. When you call, be prepared to provide a clear and concise description of the problem. Explain the nature of the injury—if it’s a chipped tooth, describe the size of the chip and if you are experiencing any pain. If it’s a toothache, describe the type of pain (e.g., dull ache, sharp sensitivity to hot or cold) and its location.
While you wait for your appointment, there are a few things you can do to manage the situation and make the treatment easier for the dentist:
- For a Chipped Tooth: If possible, try to find the broken piece of the tooth and save it. Rinse your mouth with warm water to clean the area and apply a cold compress to your face to reduce any swelling.
- For a Painful Tooth: Gently rinse your mouth with warm salt water to clean the area and help with any swelling. Take over-the-counter painkillers, such as ibuprofen, but do not place them directly on the tooth or gum, as this can cause a burn.
Following these steps will not only provide some immediate relief but will also prepare the site for a more efficient and effective examination by the dentist.
Step 2: The Examination and Diagnosis
Once you arrive at the dental surgery, the dentist’s first priority is to conduct a thorough examination to accurately diagnose the problem. The goal of this initial appointment is to alleviate your pain and prevent the problem from worsening, not necessarily to provide a permanent fix.
- Visual Inspection: The dentist will first conduct a visual examination of the affected tooth and the surrounding gums. They will be looking for the extent of the chip, any signs of an abscess or swelling, and the overall condition of the tooth.
- X-Rays: To get a full picture of what’s happening beneath the surface, the dentist will likely take one or more X-rays. An X-ray can reveal if a fracture extends to the root of the tooth, if there is an abscess at the root, or if there is any damage to the surrounding bone. This is a critical step, as it determines the most appropriate course of treatment.
Based on this examination, the dentist will be able to make a diagnosis and propose a treatment plan. The treatment will vary significantly depending on the nature of the emergency.
Step 3: Treatment for a Chipped or Fractured Tooth
The treatment for a chipped tooth depends on the size and location of the chip. The most common treatments are composite bonding and dental crowns.
For a Minor Chip
If the chip is small and doesn’t affect the inner layers of the tooth, the dentist may simply smooth the sharp edge of the tooth with a fine polishing disc. If the chip is more visible, they will likely use composite bonding. This involves applying a tooth-coloured resin material to the tooth and sculpting it to match the original shape. The resin is then hardened with a special light. This is a quick and effective treatment that can restore the appearance of the tooth in a single appointment.
For a Deeper Fracture
If the fracture is more significant and exposes the dentin (the layer beneath the enamel), the tooth will be more sensitive. The dentist will use composite bonding to fill the fracture and restore the tooth’s structure. However, if the fracture is very large, a more permanent and durable solution may be necessary. This often involves preparing the tooth for a dental crown—a cap that covers the entire tooth. The dentist will likely take an impression of your tooth and place a temporary crown to protect it while the permanent one is being made in a dental lab. This will be a two-part process, with the permanent crown being fitted at a follow-up appointment.
Step 4: Treatment for Severe Pain
Severe, throbbing pain is often a sign that the nerve (or pulp) inside the tooth is infected or inflamed. This is typically caused by a deep cavity or a crack that has reached the pulp chamber. The two most common causes of this kind of pain are an abscess or pulpitis, and both require immediate professional attention.
Draining an Abscess
A dental abscess is a pocket of pus that forms at the tip of the tooth root, caused by a bacterial infection. The pain from an abscess can be severe and is often accompanied by swelling in the face or gums. The dentist’s first priority will be to drain the abscess to relieve the pressure and pain. They may make a small incision in the gum or drain the pus through the tooth itself. Once the immediate pain has been managed, the dentist will likely prescribe antibiotics to kill the infection and may then recommend a root canal treatment to save the tooth.
Root Canal Treatment
If the pain is caused by an inflamed or infected pulp (pulpitis), the tooth will need a root canal treatment. This procedure is designed to save the tooth and eliminate the source of the pain. The process involves:
- Anaesthesia: The dentist will numb the area around the tooth with a local anaesthetic to ensure you feel no pain.
- Access: A small hole is made in the top of the tooth to access the pulp chamber.
- Pulp Removal: The infected or inflamed pulp is carefully removed from the tooth and root canals using small, specialised instruments.
- Cleaning and Shaping: The root canals are cleaned, disinfected, and shaped to prepare them for filling.
- Filling and Sealing: Once the canals are clean, they are filled with a rubber-like material called gutta-percha and then sealed to prevent re-infection.
After a root canal, the tooth is often brittle and weak, so the dentist will usually recommend that it be fitted with a crown to protect it and restore its strength and function.
Learn about lily on xxbrits uk official.
Step 5: The Post-Emergency Plan and Prevention
The immediate emergency treatment is just the first step. The dentist will provide you with a plan for what comes next. This will include follow-up appointments to check on your recovery and, if necessary, to fit a permanent crown.
To prevent future emergencies, your dentist will also offer advice on a number of preventative measures:
- Wear a Mouthguard: If you play contact sports, a custom-fitted mouthguard can provide a vital layer of protection for your teeth.
- Avoid Biting Hard Objects: Don’t use your teeth to open bottles, tear plastic, or bite down on hard foods like ice.
- Regular Check-ups: Regular dental check-ups and professional cleans are essential. They allow your dentist to identify and address small problems, such as a weak filling or a developing cavity, before they turn into a painful emergency.
In conclusion, a dental emergency can be an unnerving experience, but by understanding the process, you can approach the situation with more confidence. Emergency dentists are trained to act quickly and effectively to alleviate your pain and protect your oral health. With their expertise and your proactive approach, you can get back to smiling without pain and with the knowledge that your dental health is in good hands.
Source: XXBRITS in UK