
Why a 100 Ft Laser Level Can Simplify Larger Layout and Alignment Tasks
Large layout projects require more than a steady hand and a traditional measuring tape. Whether you’re installing cabinets, aligning wall frames, or planning a room renovation, keeping everything straight and level can take time. Small measurement errors can affect several parts of a project, especially when working across long walls or multiple surfaces.
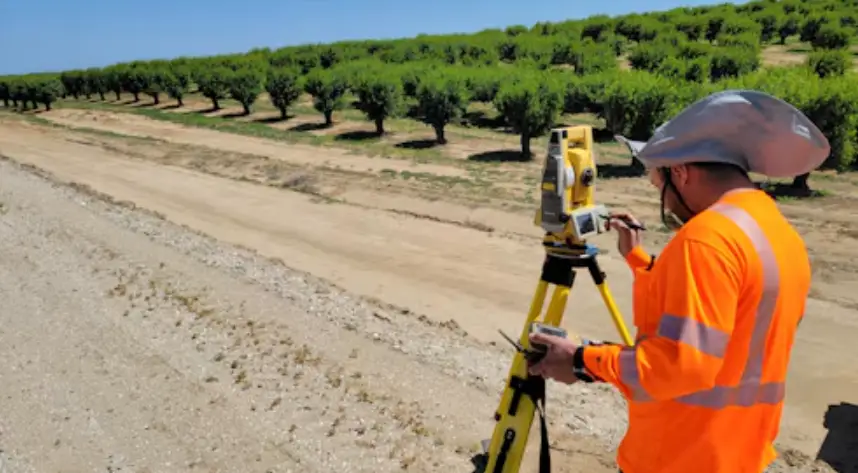
A 100 ft laser level helps project visible reference lines across wider working areas. Instead of repeatedly checking measurements with a manual level, you can use projected lines to guide your work. A cross line laser level adds horizontal and vertical references that make it easier to manage different installation tasks. Understanding how these tools work can help you choose the right setup for your project.
Why Larger Projects Need Better Alignment Tools
Small projects often involve only a few measurements. Larger projects require consistent reference points across several surfaces. A slight alignment error on one wall can affect cabinets, shelving, flooring, or other installations nearby.
Traditional levels remain useful, but checking every section manually can become repetitive. Laser levels provide visible reference lines that help maintain consistent positioning. They are especially useful when working alone because the projected lines remain visible while you mark or install materials.
For example, installing wall cabinets across a long kitchen requires consistent height and alignment. A laser reference can help keep the installation line steady from one end of the wall to the other.
What Is a Cross-Line Laser Level, and What Is It Used For?
A cross line laser level projects horizontal and vertical lines onto nearby surfaces. These lines intersect to create a visible reference point. This arrangement helps users check alignment without constantly repositioning a traditional level.
Common applications include hanging pictures, installing shelves, aligning tiles, fitting cabinets, and marking wall layouts. The horizontal line helps establish consistent heights, while the vertical line supports straight positioning.
Some models offer additional projected lines or 360-degree coverage. These features can help with projects involving several walls or multiple installation directions. However, a basic cross-line model may be enough for smaller rooms and straightforward tasks.
How a 100 Ft Laser Level Helps With Long-Distance Layouts
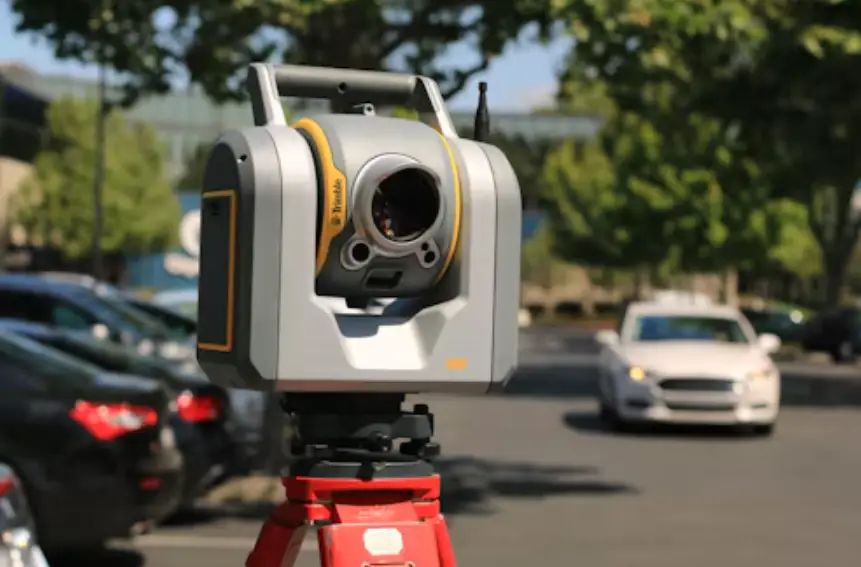
Working across a large room often means transferring measurements from one wall to another. A 100 ft laser level can make this process easier by projecting reference lines over a wider distance. This reduces the need to move a measuring tool repeatedly between different positions.
The stated range doesn’t always represent the distance at which a beam remains clearly visible. Lighting conditions, surface color, and beam brightness all affect visibility. Some models support pulse mode, which works with a compatible laser receiver to help detect lines over longer distances.
For example, when planning a large office partition, a projected reference can help maintain a consistent layout across several sections. You can mark the necessary points and check their alignment before securing the framing materials.
Cross-Line vs. 360-Degree Laser Level: Which Do You Actually Need?
A cross-line laser projects horizontal and vertical lines in a particular direction. It works well for tasks that involve one wall or a limited working area. Hanging shelves, installing wall panels, and aligning cabinets are common examples.
A 360-degree laser projects a continuous reference line around an entire horizontal or vertical plane. This coverage helps when working across multiple walls without repeatedly changing the tool’s position. Larger tiling projects, room renovations, and ceiling installations can benefit from this setup.
The choice depends on how much coverage the project requires. A basic cross-line tool can handle many household tasks, while a multi-plane model offers additional flexibility for complex layouts.
Is a Self-Leveling Laser Level Worth It?
Self-leveling technology helps establish accurate reference lines without requiring constant manual adjustments. An internal mechanism corrects small positioning differences within the tool’s specified leveling range. This makes setup easier when moving between work areas.
Most self-leveling models indicate when the tool sits outside its correction range. Depending on the design, the laser may flash or provide another warning. This feature helps prevent users from relying on a visibly incorrect reference line.
Manual mode also has a purpose. It allows users to project angled lines for tasks such as stair layouts or decorative installations. Before using this mode, check the projected line with an appropriate measuring tool if accuracy is important.
Green vs. Red Laser Lines: Does the Color Really Matter?
Laser color affects how easily users can see projected lines. Green beams are generally easier for the human eye to notice under comparable lighting conditions. This can make them useful when working across larger indoor spaces or in brighter rooms.
Red beams can still provide clear references for many everyday projects. They are often suitable for smaller rooms, basic installations, and occasional home repairs. The right choice depends on the working environment rather than color alone.
Beam visibility also depends on the laser’s output, distance, and surrounding light. A green beam won’t automatically remain visible in direct sunlight. For outdoor layouts, check whether the tool supports a compatible receiver.
What Should You Look for in a Laser Level for Cabinets and Shelves?
Cabinet and shelf installations require consistent horizontal references. A laser level can project a line at the required height, helping users position brackets and mounting points. This reduces repeated measuring along the wall.
Consider these features when choosing a tool:
- Accuracy: Check the manufacturer’s stated accuracy at a specific distance.
- Mounting options: Look for tripod threads, magnetic brackets, or adjustable stands.
- Beam visibility: Choose a beam suitable for the lighting conditions.
- Leveling mode: Self-leveling can simplify routine installation work.
- Battery performance: Consider operating time and charging requirements.
- Line coverage: Decide whether a single cross-line setup or 360-degree projection suits the project.
A stable mounting position is just as important as the laser’s specifications. Even a precise tool can produce unreliable results if its support moves during installation.
How to Use a Laser Level Accurately Across Large Areas
Correct setup helps maintain reliable reference lines throughout a project. Start by placing the tool on a stable surface or mounting it securely on a compatible tripod. Keep the device away from vibrations and accidental movement.
Switch on the laser and allow the self-leveling mechanism to settle. Check that the indicator shows the tool is within its leveling range. If the surface is uneven, adjust the tripod or mounting position before proceeding.
Mark important reference points along the projected line. When transferring measurements to another wall, check the relationship between the new line and your original reference. This extra verification helps catch positioning errors before installation begins.
Do You Still Need a Bubble Level and Square if You Own a Laser Level?
Laser levels make many alignment tasks easier, but traditional measuring tools still have a role. A bubble level is useful for checking individual objects, especially when installing small fixtures or working in tight spaces. It also provides a quick way to verify a surface without setting up a laser.
A carpenter’s square helps check right angles between connected surfaces. This matters when building frames, fitting cabinets, or assembling wooden structures. Laser lines provide visual references, but they don’t replace every measurement or inspection.
Using these tools together creates a practical workflow. A laser can establish the main layout, while a square or bubble level checks specific components before final installation.
Common Mistakes That Affect Laser Level Accuracy
Even a well-designed laser level can give misleading results when used incorrectly. One common mistake is placing the tool on an unstable surface. Movement during setup can shift the projected line and affect measurements.
Another issue is ignoring the manufacturer’s accuracy specifications. A tool’s stated range and accuracy describe different things. A beam might remain visible at a certain distance without providing the precision required for detailed installation work.
Users should also avoid assuming that every projected line is automatically level. Manual mode may disable automatic correction, allowing angled projections. Check the operating mode before making permanent marks or installing materials.
Frequently Asked Questions
Can a 100 ft laser level work in a large room?
Yes. It can project reference lines across large indoor spaces, provided the beam remains visible under the room’s lighting conditions.
Is a cross line laser level suitable for construction work?
Yes. It can support tasks such as framing, cabinet installation, tile alignment, and interior layout, depending on its accuracy and coverage.
Does a green laser level provide better accuracy than a red one?
Not necessarily. Green beams are generally easier to see, but accuracy depends on the tool’s design and specifications rather than its beam color.
Can I use a laser level without a tripod?
Yes. Many models support magnetic brackets, wall mounts, or stable flat surfaces. A tripod is useful when you need precise height adjustments.
What is the difference between laser range and visibility?
Range describes the distance specified for the tool’s operation. Visibility refers to how clearly you can see the projected beam under actual working conditions.